Local WordPress development using XAMPP

Recently, I needed to setup a backup of a client’s WordPress site to verify a core upgrade wouldn’t bork their out-of-date installation. I figured it’d also be a pretty good verification of the backup process I have in place. To get this done, I used the latest version of XAMPP and a backup of the WordPress files and MySQL database.

I took a backup of the WordPress files and the dump of the MySQL database and got to work.

  1. Download and install XAMPP.
    1. You’ll want to pick the installer for the operating system that you have but the process should largely be the same. I did the same install on both Mac OS and Windows.
  2. Start Apache Web Server and MySQL Database.

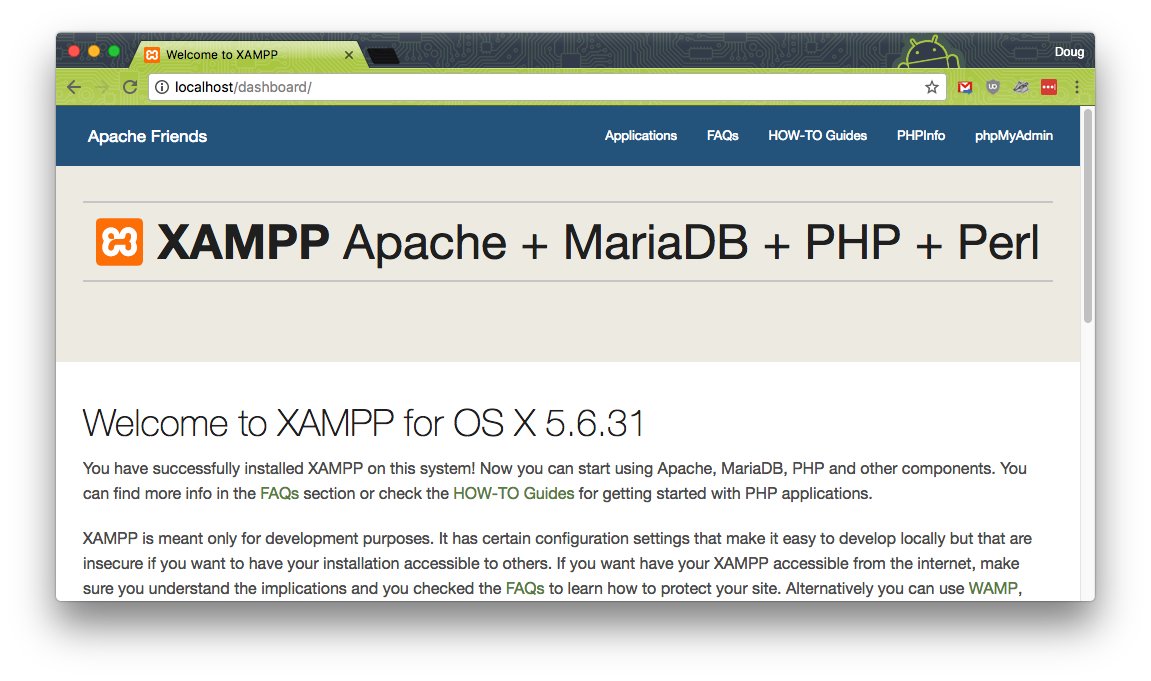
Once the servers are running, you should be able to open up your favorite browser and hit http://localhost. If everything is working you should see a ‘Welcome to XAMPP’ page.

XAMPP dashboard

Now that you’ve got the servers up and running, it’s time to import your WordPress site.

Copy the site’s WordPress files

Head over to the location where XAMPP got installed. On the Welcome tab of the XAMPP interface, there’s a Open Application Folder button that will conveniently take you right where you need to go. Once there, you should see a directory called htdocs (note: on Mac, it might be under XAMPP/xamppfiles/htdocs). This is the place where you want to put your WordPress files. I found it useful to add a new folder for the site I’m working on, for example htdocs/MySite/{WordPress Files}. That way, you can run multiple sites and keep them separate. To ease in the next step, use your IDE and open the /wordpress_directory/wp-config.php file. You want to make a note of the name of the database. It should look something like this: define('DB_NAME', 'database_name');.

Now you’ll want to make a couple changes so the WordPress can talk to the local database (more about that in the next step). There’s 3 values you’ll want to change:

  1. define('DB_USER', 'databaseUser'); to define('DB_USER', 'root');
  2. define('DB_PASSWORD', 'somepassword'); to define('DB_PASSWORD', '');
  3. define('DB_HOST', 'someHost.yoursite.com'); to define('DB_HOST', 'localhost');

Copy the site’s MySQL database

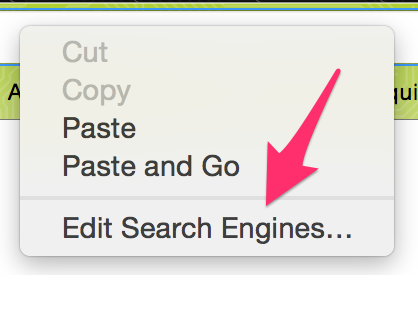
Next is the database. Since the MySQL server should be running, go to http://localhost/phpmyadmin in your browser and you should see the phpMyAdmin interface. Click the New link in the left pane. The interface will allow you to enter a name for the database, enter the name from the previous step and click the Go button.

Create database in phpMyAdmin

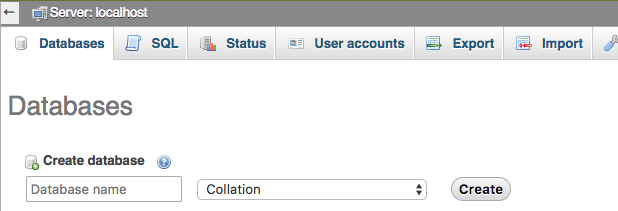
After the database is created, you should see it listed in the top navigation: Server: localhost, Database: database_name. With the database now selected, click the import button on the top bar. Click the select button, find your MySQL dump file and click Go. After a few seconds, the page should refresh and you should see all your WordPress tables in the left pane.

Next, we’ll want to update the WordPress site and home URL’s in the WP_OPTIONS table. Update them to show your local address (http://localhost).

View the WordPress site locally

Once all that is done, you should be able to just head to your local address followed by the directory you put your WordPress files in. For example: if you put the files in htdocs/MySite, then you’ll want to go to http://localhost/MySite. If everything worked, you should be looking at your WordPress website locally.

Problems and gotchas

I’ll revisit this section and update with some gotchas I ran into while setting this all up locally.

Link shortening using your own domain

Short links; they’re all the rage, amiright? There are a ton of services out there; Goo.gl and Bitly.com just to name a couple popular ones. Not only do they provide the link shortening, but they also give you some analytics so you can see how many clicks you got on your short url and where they came from. The only problem with using a service, though, is you don’t have much control. You’re also sharing links that everyone else using that same service is sharing.

I came across the open-source YOURLS site. It pretty much consists of a few PHP scripts that allow you to run your own link shortening service on your domain. I played around with it on one of my test servers to see what was involved and was impressed with the simplicity. It took me about 20 minutes to get everything setup and functioning.

Alright, let’s get to it.

Read More

Backup photos and videos on your phone using Google Photos and Amazon Photos

Keeping a backup of the photos and videos you take from your mobile device is an important thing to think about, but something most normally don’t think about until after it’s too late. Sadly, I admit, I’m in this statistic as well.

A few years ago I wrote up a post about using Dropbox to backup photos on an Android phone. But now there are a few more players in the game to help you backup photos on your mobile device. Here’s a couple more options.

NOTE: This post focuses on Android but the apps are also available on iPhone.

Google Photos (Apple version) and Amazon Photos (Apple version) both offer automatic backup options to backup photos and videos from your mobile device. Here are some examples setting up these apps.

Read More

Custom searches for your browser

Let’s say you have some websites that you frequent on a regular basis. Let’s also say you have some websites that you frequent but also send custom information in the URL to – say, a specific commit to your git repository. Wouldn’t it be neat if you could get to those websites faster and with less keyboard mashing  typing? Enter custom searches for your browser!

Alright, let’s add some custom searches to your browser

First off, this will definitely work for Chrome and Firefox. I’m not certain if it works for others.

Adding custom searches to Chrome

edit search engines screenshotRight-click on the address bar and select the Edit Search engines… option. This should open a new tab and bring you to “chrome://settings/searchEngines” (Alternatively, you could just enter that to the address bar). On this page you’ll find the default search engines like Google and Yahoo but below that list you’ll see a list of search engines labelled “other”. This is where the magic is.

add search engine form

  1. Click the input box for Add a new search engine and add a name. For example: My Repo.
  2. In the input box for Keyword add the keyword you want to use to activate this new search. For example: autourl.
  3. In the input box for URL with %s in place of query add the URL you want to head to when entering the keyword in step 2. For example: https://github.com/dougdragon/automate_URL_test/.

Now, when you enter autourl in the address bar, you’ll be taken right to https://github.com/dougdragon/automate_URL_test/.

Pretty good magic, right? Want even more magic? Check this out: say you wanted to see a specific commit on the repo above. Follow these steps to add a custom keyword that also takes a parameter.

  1. In the input box for Add a new search engine and add a name. For example: My repo commit.
  2. In the input box for Keyword add the keyword you want to use to activate this new search. For example: autocommit.
  3. In the input box for URL with %s in place of query add the URL you want to head to when entering the keyword but this time you’ll want to add a %s for the query. For example, to see a specific commit from the github.com/dougdragon/automate_URL_test/ repository, I would add the following to the URL input box: https://github.com/dougdragon/automate_URL_test/commits/%s.

Now, when you enter autocommit in the address bar and press the space bar, the address bar will show the name of your search engine and prompt you for the parameter. Paste in the commit hash into the address bar and hit enter and you’ll be looking at that specific commit on your repository!

screenshot of repocommit


Adding custom searches to Firefox

Adding custom searches to Firefox is a little more involved. Here are the steps:

  1. First, you have to save the URL to your favorites.
  2. After saving the URL to your favorites, you’ll need to go to the bookmark library
    1. You can get there by clicking the Show All Bookmarks or pressing Ctrl+Shift+B
  3. Locate your saved bookmark and select it.
  4. Once it’s selected, you should see a More button on the bottom of the page.
  5. Clicking the More button shows some extra information about this bookmark, one of them being Keyword. Enter your desired keyword here.
  6. If you want to be able to add a parameter to the query, throw in the same %s where you want to add the parameter to and it’ll perform just like the Chrome search.

Hover event in Selenium

Hover using Selenium webdriver’s ActionChains

I was recently trying to figure out how to perform a hover event using Selenium’s webdriver. The team I had previously worked on wrote a nifty function using execute_script invoking jQuery. It looked something like this:

self.driver.execute_script("jQuery('%s').mouseover()" % (hover_selector))

This didn’t always work the way I expected so I did some research and came across webdriver’s ActionChains. From Selenium-Python’s ReadTheDocs:

ActionChains are a way to automate low level interactions such as mouse movements, mouse button actions, key press, and context menu interactions. This is useful for doing more complex actions like hover over and drag and drop.

I whipped open my terminal, fired up webdriver and headed over to the trusty the-internet to give it a whirl.

The page I ran this test on was the-internet.herokuapp.com/hovers.

Here’s the code:

from selenium import webdriver
from selenium.webdriver.common.action_chains import ActionChains
driver = webdriver.Firefox()
driver.get("http://the-internet.herokuapp.com/hovers")
image = driver.find_element_by_css_selector("div.figure:nth-child(3)")
link = driver.find_element_by_css_selector("div.figure:nth-child(3) a")
# Now comes the magic
ActionChains(driver).move_to_element(image).click(link).perform()

When I ran this in my console, the browser hovered over the image then clicked on the View Profile link that appears after the hover.

Magic.


Install Selenium for fun (and profit!)

So you want to install Selenium?


There are a couple ways to install Selenium on your system. If you already have PIP installed, it’s as easy as running the following from your command line:

pip install -U selenium

This will check to see if you already have selenium installed and, if you do, upgrade it if there is one available. If you don’t, it’ll install the python bindings for Selenium.

Python bindings?! Yep, Selenium comes in several flavors. Head over to the download page for Selenium to check them out and find the programming language you’re most familiar with.

Another way to install Selenium is to download the source distribution from PyPi, unarchive it, and install it using the following Python command:

python setup.py install

This will run the setup.py via the Python version that’s installed on your system.


The commands above should be system-independent meaning you can run them on Windows, Linux, Mac, etc.selenium logo

Searching old Facebook posts

I came across a need the other day to find an old post I made on Facebook. I knew I posted it a few years ago but that was about it. I started messing around with Facebook’s search bar and realized how quickly you could perform advanced searches by just typing.

Let’s start searching some Facebook:

To start off, search for something you posted with certain words:
Read More

Install pip on Windows

pip is a package manager for Python. It makes it easy to install and upgrade Python packages using the command line. Installing a Python package using pip is as easy as opening the command line and typing:

pip install -U requests

  1. “requests” is the package you want to install
  2. “install” tells pip you want to install a package. If you want to uninstall a package simply type “uninstall”.
  3. The “-U” flag tells pip that if the package is already installed, then upgrade it.

Read More

jenkins logo

What is Jenkins doing?

I wrote some automation tests using Selenium as I build a framework for the project I’m currently working on. Since I’m probably going to go with Jenkins to run them, I got him setup on my Windows 7 machine as I run through the tests. I ran into one problem: The tests would run fine if I ran them via the command line but they were failing when Jenkins ran them. I couldn’t figure out why.

What is that Jenkins guy doing?

After some investigating, I accidentally discovered a nifty setting in Windows Read More